When I was frosting my "HO's" for Christmas I took a couple of the darker cookies and experimented a little with them. I was going for a candy cane look. However I didn't get it right; the frosting was too stiff and the bottle I was using to apply wasn't right. It should have had a broader tip. But this wasn't all for naught. This would be perfect for creating American flag cookies. So I need to keep this in mind the next time I'm in need for a patriotic or American cookie.
Showing posts with label cookies. Show all posts
Saturday, December 29, 2007
Experiments
When I was frosting my "HO's" for Christmas I took a couple of the darker cookies and experimented a little with them. I was going for a candy cane look. However I didn't get it right; the frosting was too stiff and the bottle I was using to apply wasn't right. It should have had a broader tip. But this wasn't all for naught. This would be perfect for creating American flag cookies. So I need to keep this in mind the next time I'm in need for a patriotic or American cookie.
Tuesday, December 25, 2007
Monday, October 15, 2007
Teal Perfection!
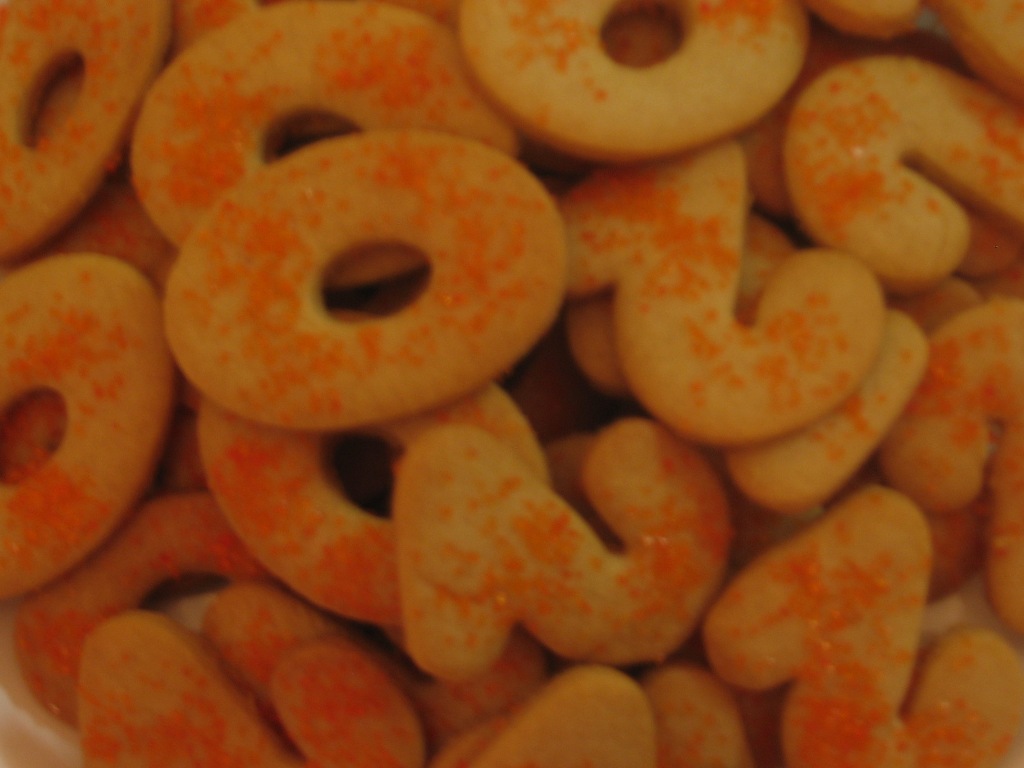
This occasion called for cut outs in the letters “H” and “Q” for the salon I go to for my therapeutic massages and miscellaneous other services: “HQ Headquarters Salon & Spa.” HQ moved into their new upscale location approximately one year ago, which is consequently how I found them, and were celebrating their one-year anniversary; a week long celebration with a different free service to try each day of the week: Hand masks, paraffin dips, facials, polish changes, 10-minute chair massages, and more. Plus treats and more treats. I wanted to bring in something special that represented the theme and the salon atmosphere.
Trial and error has led us to the Hard Glaze for Cookies from King Arthur Flour Cookie Companion. We poured the frosting into clear bottles, much like what you find at a diner for ketchup or mustard, and each set off to frost our assigned letter. I frosted all of the H’s, Paul the Q’s. I preferred to trench a heavy line of frosting across the entire middle of the cookie, then spread evenly with a small spreading spatula. Paul preferred to use the clear bottle for the entire process; he traced a thick line of frosting over the entire cookie then used the bottle tip to spread the frosting. His cookies had more cookie border showing than did mine. Both methods achieved the objective. We had about eight dozen cookies to frost and sprinkle and we finished in record time; in about one and a half hours! It does seem that the frosting starts to set in a couple of minutes…so one should sprinkle the nonpareils every 4-5 cookies. I let the frosting set overnight, then packed everything up in the morning. I arranged them in stacks of four high, alternating H’s and Q’s in the bakery box.
We used Wilton® Teal icing color for the coloring and added a little at a time until we reached the desired boldness of teal color. The sprinkles are Wilton® White Nonpareils and really popped against the teal. The cookie recipe also comes from King Arthur Flour Cookie Companion. The H’s were flavored with vanilla extract and the Q’s with almond extract.
Julie was thrilled with the cookies, and I was told they were quite the hit with Julie’s clients. This is my first post at Cookies, Et Cetera. I hope you enjoyed reading my first post.
Friday, August 31, 2007
Baby cookies
Sometimes I don't think I'm a good blogger. I don't photograph everything I make and for some reason, there's a certain group of baked goods that I make but never blog about. It's a shame really, because these baked goods are what really are a huge part of the blog's name.


Over the past two years, Lorrie had a good number of friends and coworkers who had children. Lorrie, being friendly and social, likes to give little gift bags. These bags usually have something baby related, a container like a bucket or basket, a dozen cookies, a stuffed animal or flower, and a card.


The cookie shapes are baby bottles and baby buggies. If we know the sex of the baby we use the corresponding color. Pink for girls, blue for boys. People get a mix if we don't know.


We've experimented a little with different recipes for the cookies and the frosting and I've settled on the frosting. The cookies taste good but the dough doesn't hold its stiffness, even after being in the fridge for 24 hours, so I'm still trying different things. We've also settled on using the white nonpareils on top. We think they look better than dusting sugar and they pop against the frosting background.
Over the past two years, Lorrie had a good number of friends and coworkers who had children. Lorrie, being friendly and social, likes to give little gift bags. These bags usually have something baby related, a container like a bucket or basket, a dozen cookies, a stuffed animal or flower, and a card.
The cookie shapes are baby bottles and baby buggies. If we know the sex of the baby we use the corresponding color. Pink for girls, blue for boys. People get a mix if we don't know.
We've experimented a little with different recipes for the cookies and the frosting and I've settled on the frosting. The cookies taste good but the dough doesn't hold its stiffness, even after being in the fridge for 24 hours, so I'm still trying different things. We've also settled on using the white nonpareils on top. We think they look better than dusting sugar and they pop against the frosting background.
Tuesday, August 21, 2007
Early Cookie Experiments
I was cleaning up a number of different folders of pictures the other day and ran across this picture:

Lorrie and I had made cookie baskets for Easter one year and we churned out 5-7 dozen cookies. Unfortunately, this was before I was blogging so taking pictures wasn't all that important and I only took this picture, with a disposable camera no less, to use up the film.
I do think this was a great batch of cookies. I'll try to zoom in and highlight some of them.

This is an Easter bunny face. The eyes and nose were candy dots, the kind that come stuck to pieces of paper. The whiskers were black licorice; we had to cut these in half because the licorice was still too thick, even as this thin rope. That was tough. The ears were done with pink sugar and I used a stencil to get the shape right.

The cookies on the left are another version of the rabbit, sitting in grass. Again the eyes and nose were the candy dots. No whiskers, we just couldn't get the whiskers small enough. The grass is coconut dyed using green food coloring. Other cookies in the picture are various Easter eggs and a church with gummi bears lined up.
Other cookies in the main picture are robin eggs (on the left), sheep, tulips, and butterflies. The robin eggs had a turquoise base with purple sugar. The sheep were just covered in coconut. The tulips were just simply designed with pink, white, or yellow frosting and then a contrasting sugar color. The butterflies were yellow or pink with M&M's as the body sections and then spots in the wings.
The white tower of drawers is where I keep the cookie decorating supplies. You can see some of the left over candy in the lower right. In the lower left you can see what looks like spray painting. I found a spray can color spray thing. I think it is meant to be like a poor man's air-brush. I played around with it, both alone and with stencils. I wasn't thrilled and probably, OK, won't, use it again.
All in all, I think they turned out pretty good and they were well appreciated. My personal favorites were the two rabbits.
Thursday, May 17, 2007
Mystery Solved!
A while back, I asked for help identifying these two cookie cutters. I had picked them up in a rummage sale and had no idea what they could be. The best guess Lorrie and I could come up with was a cob of corn and a bat.

Well, now the mystery is solved. I was up in Green Bay over Mother's Day and stopped by my aunt's to pick up her cookie cutters and cookbooks. She was downsizing to a new apartment. I started going through them when I had a 'Holy, um, cow' moment once I saw this:

A full set of the mystery cookie cutters still in the package! So it turns out the corn cob-looking one is a basket and the bat one is a chick with it's wings spread. And hey, there is a rabbit in the set too.
Monday, January 29, 2007
Granola Grabbers

These are also great as a midnight snack. The cookies are crunchy and chewy at the same time, a combination that just begs to be paired with milk.
Granola Grabbers
from page 82 of the Baking: From My Home to Yours
Makes about 40 cookies
3 cups granola (no fruit)
3/4 cup raisins
1/2 cup salted peanuts
1/2 cup slivered almonds
1/2 cups sweetened shredded coconut
1/3 cup wheat germ
1 3/4 sticks (14 Tbls.) unsalted butter at room temperature
3/4 cup (packed) light brown sugar
1/4 cup sugar
1 large egg
1/4 teaspoon salt
1 cup all-purpose flour
Preheat the oven to 375° F and prepare 2 baking sheets.
Combine the granola, raisins, peanuts, almonds, coconut, and wheat germ in a bowl and mix well. Set aside for later.
In a mixer beat the butter for 2 minutes at a medium speed. Add the brown sugar and the granulated sugar and cream for 3 minutes or so. Add the salt and the egg and mix thoroughly. Reduce the mixer speed to low. Add the flour and once it is just mixed, add the granola mixture. Stop the mixer once all the granola, nuts, and fruit are just combined. You do not want to over beat this batter. Use a spatula to incorporate any remaining dry ingredients.
Take a heaping tablespoon of the dough and gently pack. Place each cookie about 1 1/2 inch from each other though these won't spread a lot. Flatten them down a tiny bit using your fingertips.
Bake for 10-12 minutes. About halfway through, rotate the pans 180° and switch the pans on the racks. The cookies are done when they are a golden brown but not hard. Remove from the oven, let cool in the pan for a minute or two, then transfer to a wire rack to cool.
Also appearing at Just Baking and featured on the Well Fed Network.
Tuesday, December 05, 2006
Chocolate Covered Espresso Cookies
I changed the recipe slightly. Dark brown sugar instead of light brown sugar gives them a little more sweetness and a darker color. I used white chocolate and added the ground espresso beans to the chocolate to give it a little grit, a little coffee flavor, and a speckled effect.
Chocolate Covered Espresso Cookies
Makes about 28 cookies
4 ounces (1 stick) unsalted butter at room temperature
1/3 cup lightly packed dark brown sugar
1 tsp instant espresso powder
2 tsp water
2 tsp finely ground espresso beans
1 1/4 cups all purpose flour
1/8 tsp salt
enough white chocolate to cover 28 cookies
Dissolve the instant espresso powder in the water. Cream the butter and dark brown sugar together. Once it's well blended, add in the water and dissolved instant espresso powder and mix well. Finally add in the rest of the ingredients minus 1 tsp of the espresso beans until they are just mixed. Roll the dough into a log and then wrap in plastic wrap. Use the plastic wrap to form the dough into the log, it will be more consistent. The dough log should be about seven inches. Put in the refrigerator overnight and no more than a couple of days. Preheat the oven to 350° F. Cut the cookies from the dough, about 1/4 inch thick. Place on cookie sheet and bake for about 12-15 minutes. The cookies are done when the sides are brown and the cookies appear dry. Cool on a rack for about an hour. Melt the chocolate and add in the 1 tsp of the espresso beans. Dip the cookies, covering them with a thin layer of the chocolate. Place on wax paper and allow 10 minutes to set and then place in the refrigerator for another 10 minutes. Store in an airtight container in a cool place.
I'd like to say I made these in conjunction with the National Cookie Day but I didn't know yesterday was that until I saw a post about it on Cooking Is Medicine. Probably should have been more on top of that. By the way, it is also National Cookie Cutter Week so celebrate by helping me determine what these are!
Thursday, November 02, 2006
What the heck are these?
I'm supposed to be working on my post about what we did for Halloween but its rather large so its taking a while. In the meantime, here's a quick post I've been meaning to do.


A while back I was at a rummage sale where the couple were literally selling everything and I bought a box of cookie cutters. I didn't have a good number of them and they were in really good condition. But in with all of them were two that I couldn't identify what they were supposed to be. We have some guesses: weird bat, corn, lamb's face. Nothing for sure. So I'm putting this out there. What are these two cutters? I have them shown two ways in hope somebody can identify them. They appear to be part of a Easter/spring set or possibly just from the same manufacturer. Here is a group shot.

Any help would be appreciated. Thanks.
Thursday, October 19, 2006
National Boss Day 2006 - Part Three - Peanut Butter Sandwich Cookies

Here are a couple pictures of the final product in its packaging.

Wednesday, October 18, 2006
National Boss Day 2006 - Part Two - Cutout Cookies

Tuesday night while Lorrie and her mother wrapped the NASCAR chocolate lollipops, I started making the dough for cookies. The theme we had going was NASCAR and Tony Stewart's #20 Home Depot car. The last thing I wanted to incorporate was some of the favorite flavors of Lorrie's boss. Peanut butter was suggested. I had seen a recipe for peanut butter cutouts on page 100 of the King Arthur Flour Cookie Companion
book and decided to make those. A great choice! These cookies ended up tasting wonderfully. Cookies that could be shaped, have a good flavor, and didn't need a ton of decorating were ideal in this situation. The first half of the dough I made was used to make two-by-two inch cutouts of two's and zero's, the number of Tony Stewart's car. The cookies were about a quarter inch thick and I believe I ended up with about forty to fifty of them. We debated various ways of decorating them but ended up just using a simple coating of orange sugar. I believe this was a wise choice because fondant or frosting would have been too much for these cookies. They had a nice peanut butter taste and something more sugary like frosting on them would have been overkill. Too many flavors competing for attention in the mouth.
Subscribe to:
Posts (Atom)